For any tattoo artist, precision is non-negotiable. The bridge between a digital design or a hand-drawn sketch and the final ink on skin is the stencil. A flawless stencil means a flawless tattoo, and that's where high-quality tattoo transfer paper becomes one of the most critical tools in your studio. This guide breaks down the types of transfer paper and how to master their use to streamline your workflow and ensure perfect results every time.
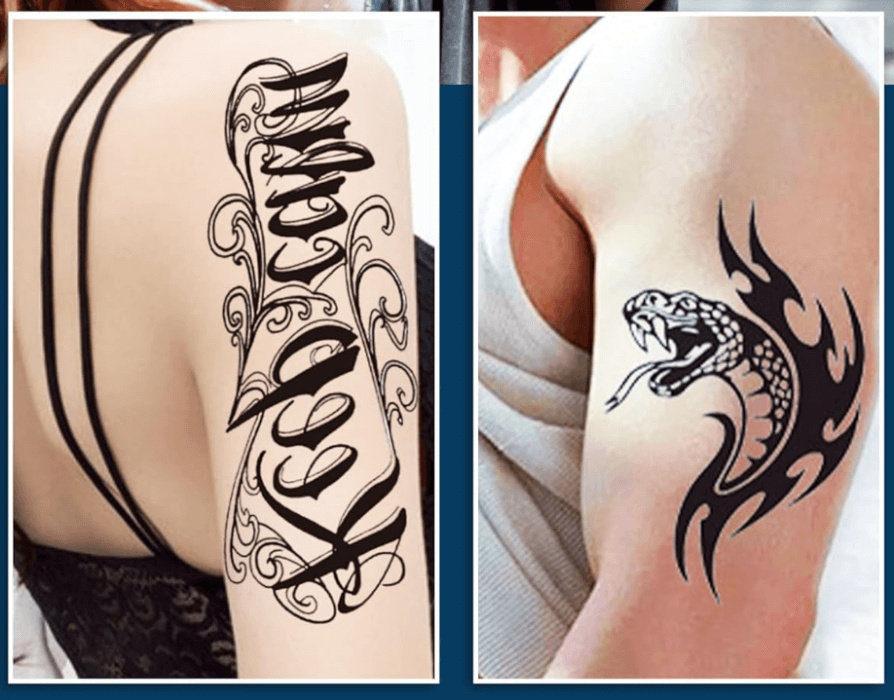
It's a special kind of multi-layered sheet that imprints your design onto skin, face, nails, or other surfaces in crisp, clean lines. Tattoo artists use it—by hand or with a printer—to create tattoo stencils in all sorts of styles and patterns, then apply them smoothly to the body.
Hectograph and thermographic transfer paper are the two most common types used for transferring tattoo designs—but the way they work is totally different.
Hectograph transfer paper—also known as freehand or manual stencil paper—skips the printer entirely. You simply place it beneath your design, trace or sketch it directly onto the paper with a pen or stylus—perfect for intuitive stencil development and custom one-off pieces.
Manual tattoo transfer paper has three layers:
Top sheet (white sheet)
This is the surface where you draw your design. It receives the transferred pigment from the layer below.Carbon paper (purple or blue)
Positioned beneath the top sheet, this layer contains transferable ink that adheres to the top sheet when pressure is applied during drawing.Backing sheet
A thin yellow or clear backing that provides stability and prevents slipping during use.Once your design is complete, you apply stencil solution or alcohol to the skin, press the top sheet against it, and peel it away—leaving a visible outline ready to follow with your tattoo machine.
In fact, artists and crafters use manual tattoo carbon paper to create consistent stencils for everything from intricate tattoos to custom wood or fabric art.
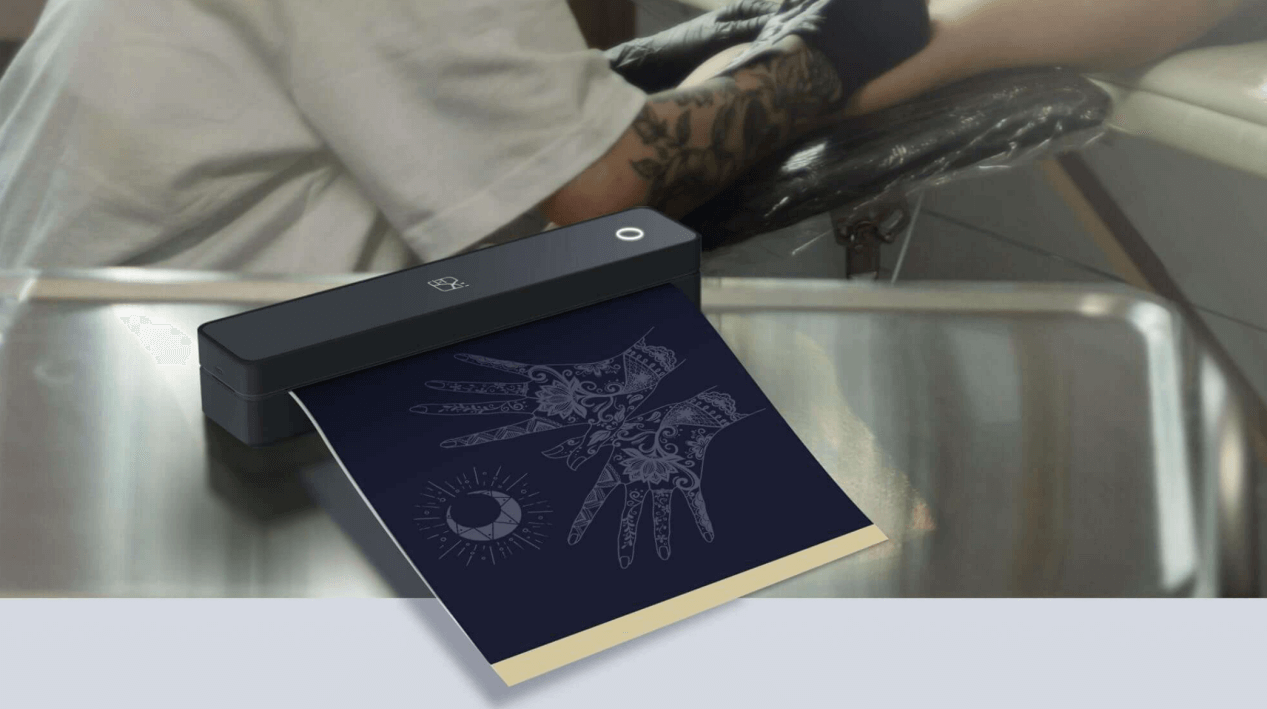
Thermal transfer paper for tattoos always works with a compatible printer—often a dedicated tattoo stencil printer—to transfer designs via heat, yielding crisp, dark lines every time.
It typically includes four layers:
Transfer paper (white sheet)
The top sheet where your printed stencil appears. It’s the part that gets placed against the skin.Protective tissue paper(onion sheet)
A thin separator that sits between the top layer and the ink layer, preventing smudging or premature transfer.Carbon paper
Contains the heat-sensitive pigment, usually purple, that forms your stencil lines.Yellow backing sheet
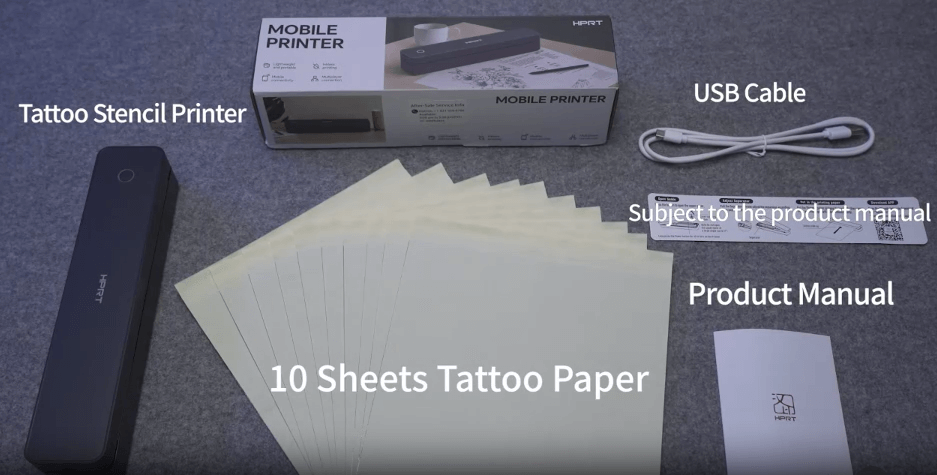
A firm backing that holds everything in place during printing and handling.Most tattoo printer paper is approximately US Letter size and works easily with portable A4 printers — often via a mobile app.
So, how does tattoo transfer paper work? The printer heats up the carbon layer, transferring the ink onto the white sheet and creating sharp, high-contrast stencils of cats, butterflies, Gothic designs, vintage patterns, and more.
After printing, place the stencil on clean skin using stencil gel. Press it firmly for a few seconds, then remove it to reveal the clear design—ready for tattooing. No wonder pro tattoo artists rely on it—it’s efficient, accurate, and hassle-free.
Selecting the right tattoo stencil paper depends on your budget, ease of use, and design complexity.
Manual tattoo carbon paper is cheap, flexible, and great for freehand work—no printer, no fuss. Just grab a pen and sketch. However, it’s tougher to get perfectly than thermal methods.
Thermal stencil paper, used with a tattoo printer, quickly produces fine-line tattoos, floral work, or complex geometric patterns. It’s a top choice for professional tattoo artists, body painters, who value speed, precision, and reliable results.
Creating tattoo stencils by hand or using a printer is a very different process. Each method requires its own set of tools and steps to get it right.
Make Tattoo Stencils by Hand
Make Tattoo Stencils with a Printer
Quick tip: Choose a pen that matches your linework—use a fine tip for detailed designs and a thicker one for bold outlines. The right line weight makes a big difference in how well your stencil transfers.
Thermal tattoo printers are quickly becoming a studio must-have. They cut the hassle out of stenciling, delivering sharp, fast results—ideal for fine lines and complex designs. For artists, that means cleaner work, quicker prep, and less stress.
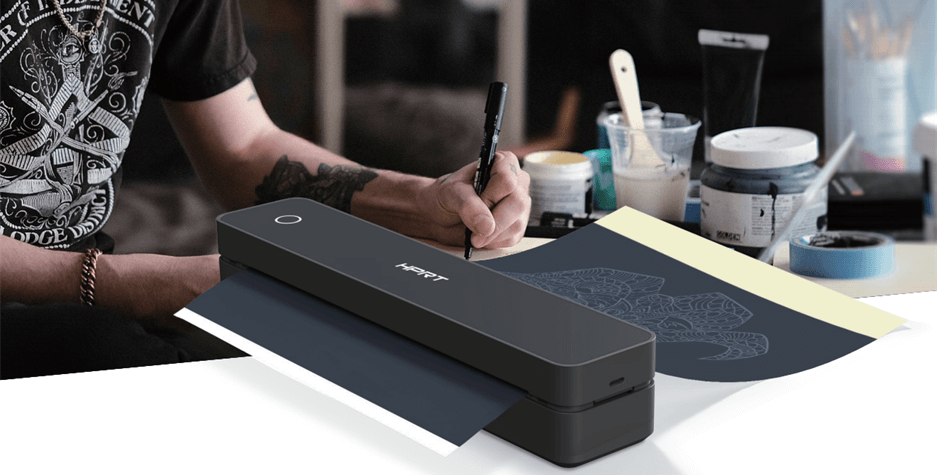
Take the HPRT MT660, for example—it's hands-down one of the best tattoo stencil printers out there, and artists who've used it have nothing but good things to say.
It’s compact, fast, and prints with high-resolution detail that really captures the fine lines. The companion app makes things easy—you can resize, crop, mirror your images, or throw on a filter with just a few taps. It’s beginner-friendly but powerful enough for pros, too. Plus, it supports multi-device connections, great for studio collaboration.
Plug in and turn on the thermal stencil printer. Adjust the print width to fit your tattoo stencil paper.
Remove the onion sheet (the protective layer) and yellow backing from the tattoo transfer paper. Load paper correctly.
Note: The carbon paper faces up; the tracing paper faces down.
Connect your phone or tablet to the printer via Bluetooth using the compatible app.
You'll find handy ruler guides to help with sizing, plus tools for editing your design—like splitting up big images, piecing together smaller ones, or adding cool filters. Play around with it and make the layout your own!
Note: Always mirror your image before printing to ensure correct orientation on skin.
Tap "Print" in the app to send the design to the thermal tattoo stencil printer. The design will be printed onto the white top sheet of the thermal stencil paper.
Cut out your stencil—it's now ready to be placed on the skin!
Clean the skin area and apply stencil transfer gel evenly where the stencil will be placed.
Carefully place the printed stencil onto the skin, design side down. Press gently and evenly for a few seconds to ensure full transfer.
Slowly peel away the paper to reveal a clear, visible stencil outline on the skin.
Tip: This is a temporary guide. Rinse off excess ink to avoid smudging and ensure a clean working surface.
Want clean, sharp stencils every time? Here are a few real-world tips to help you get the best out of your tattoo stencil paper:
Make sure your design has clean, bold lines—nothing too light or fuzzy. If it’s super detailed, simplify it a bit in the app before you print.
Use a pencil to mark reference points on the skin so your stencil lands exactly where you want it. A little tape on the edges can help keep things steady.
Working on curved areas like arms or legs? Cut the stencil into smaller sections to avoid creases and bubbles.
Wait until the stencil gel becomes tacky—don't apply to overly wet skin. Press firmly but don’t slide the paper.
Go for transfer paper with solid carbon coverage and a smooth backing. Pair with high-adhesion stencil gel and gloves to avoid smudging or contamination.
Got a design in mind—maybe a butterfly, a skull, or something totally your own? With the HPRT MT660 tattoo stencil printer, turning it into clean, ready-to-ink lines is easier than ever.
Interested in bringing the HPRT MT660 to your studio or store? Contact us today to request product info, pricing, or a custom quote tailored to your business needs.
No. Once the carbon layer prints, it won’t transfer cleanly again—always start fresh for clarity.
Check your printer’s heat and density settings. A low-heat or eco-mode print often yields faint lines that vanish on contact.
Air may be trapped underneath or the paper was applied too quickly. Use a card or scraper to smooth from the center outward, and consider segmenting large stencils.
It could be due to unclean skin (oil/sweat residue), too little stencil gel, or not pressing long enough. Thorough cleaning, proper gel use, and even pressure will improve longevity.