How to Make a 3D Printed Moon Lamp: A Comprehensive Guide
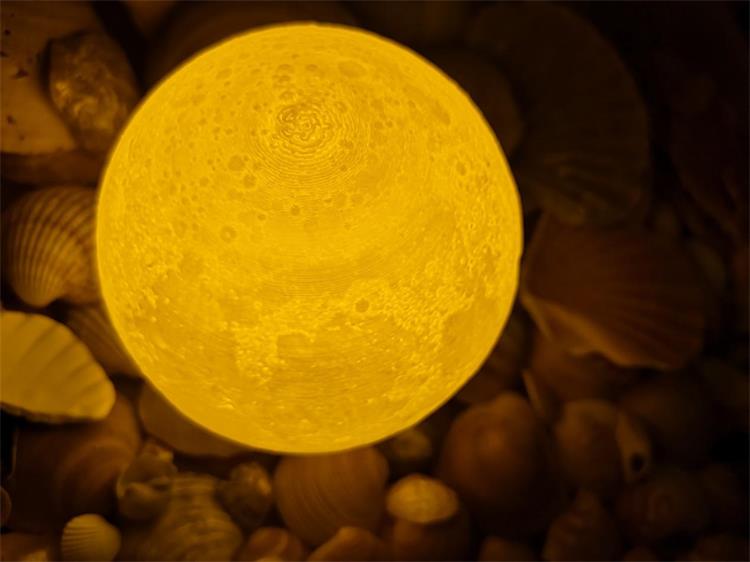
Bring the celestial beauty of the moon right into your home—thanks to the marvels of 3D printing technology. A 3D printed moon lamp is a luminary designed to mimic the moon’s surface texture and appearance, often used for home decor or lighting. This guide will walk you through the process of crafting a meticulously detailed and incredibly lifelike 3D printed moon lamp.
Unique Advantages of 3D Printing
Traditional manufacturing methods often fall short of capturing the moon’s complex surface details. However, 3D printing technology breaks these barriers, offering:
1. Highly Detailed and Complex Designs:
3D printing can accurately replicate the moon’s subtle features, such as impact craters and mountains.
2. Layer-by-Layer Printing and Thickness Control:
The layering process in 3D printing allows for fine adjustments in thickness and translucency, unmatched by traditional methods.
3. Personalization and Customization:
3D printing enables you to tailor the moon lamp according to your preferences, even allowing for personalized photos or text.
Components of a 3D Printed Moon Lamp
A moon lamp consists of two main parts: the 3D printed section and the lighting circuit.
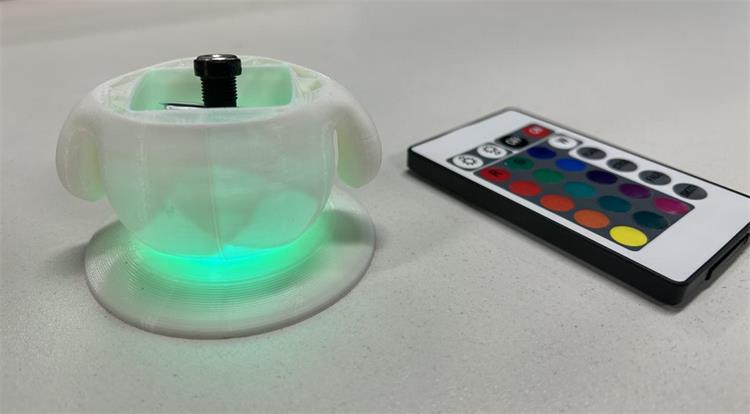
There are various lighting options for a 3D print moon lamp, such as basic LED strips, popular remote-controlled LEDs, and touch LED modules.
Regardless of your choice, make sure to leave a channel at the bottom of the moon lamp for the circuit. Additionally, you’ll need a power adapter and cable, which connect to the LED light through a dedicated interface at the bottom of the lamp.
The 3D printed section mainly includes:
1. 3D Printed Moon Sphere:
Usually made of PLA plastic, this is the core of the entire moon lamp.
2. Base with Cable Groove:
This base not only serves as the supporting structure for the moon lamp but also has a groove for neatly placing the power cable. Common bases are wooden and can be circular or have openwork brackets.
If you opt for LED strips, consider 3D printing a base with brackets or separately printing an internal bracket to secure the LED strips.
Steps for 3D Printing a Moon Lamp
1. Prepare the 3D Print Model
Firstly, obtain a 3D model file for your 3D printed moon lamp. You can either create one using widely-used 3D modeling software such as Blender, Tinkercad, or Fusion 360, or download a pre-existing model from reputable online platforms like Thingiverse, MyMiniFactory, or Cults 3D.
Once you have the 3D model, the next step is to use slicing software to prepare your moon lamp 3D print. The moon lamp can be printed in various dimensions—10cm, 15cm, 20cm, etc. Choose a size that aligns with your specific needs and the capabilities of your FDM 3D Printer. After determining the size, adjust the scale of the model within the slicing software.
Popular slicing software options include Cura, PrusaSlicer, and MatterControl. Within your chosen slicing software, configure the following essential parameters:
● Infill Density:
Usually between 15%-30%. This ensures structural stability while also saving material and reducing print time.
●Layer Height:
Recommended between 0.1mm to 0.2mm. This balances fast printing speed with good surface quality.
●Wall Thickness:
Generally, 0.8mm to 1.2mm is an appropriate range, ensuring structural stability without excessive material consumption.
●Support Structures:
These are usually unnecessary as the design of the moon lamp is often self-supporting.
With these detailed preparation steps and settings, you’ll gain a comprehensive understanding of how to prepare and print a high-quality 3D printed moon lamp.
2. Start 3D Printing
Load the material and start 3D printing. White PLA is often recommended for its low melting point, ease of printing, and cost-effectiveness. Additionally, its good translucency allows for a more authentic simulation of the moon’s natural lighting, thereby enhancing the texture and details of the moon’s surface.
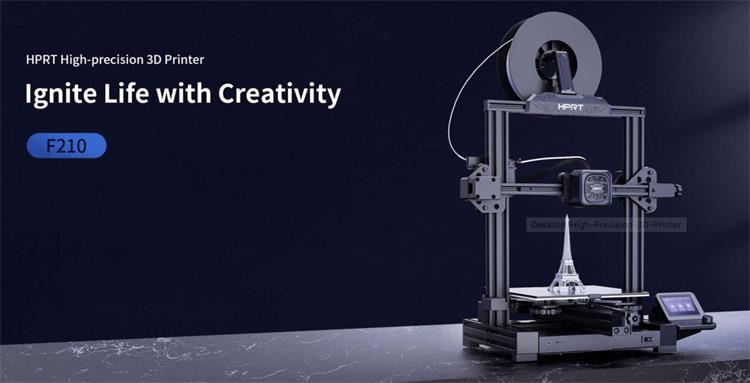
The HPRT F210 High-Precision 3D Printer serves as a comprehensive 3D printing solution that accommodates a wide array of needs. It is particularly suitable for 3D printing enthusiasts, makers, designers, educators, and DIY businesses.
This versatile FDM 3D printer supports a range of materials, including PLA, TEPG, and TPU, and is compatible with commonly used 3D model file formats like STL and OBJ. Whether you’re printing customized figurines, artistic decorations, daily essentials, architectural models, or product prototypes, the F210 offers an intuitive and user-friendly experience.
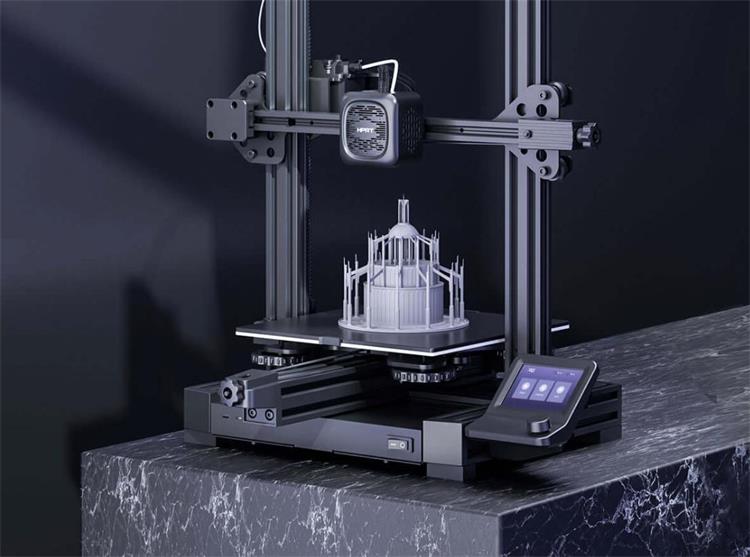
This desktop 3D printer features a build volume of 220×220×250mm and a print thickness range of 0.1mm to 0.4mm. It excels in capturing intricate details, making it particularly effective for 3D moon lamp printing. Whether you’re interested in a compact moon lamp with a 10cm diameter or a larger 20cm model, the HPRT F210 can accommodate your specifications.
What sets the HPRT F210 apart is its robust construction, featuring an all-metal integrated body and high-standard V-shaped materials for stability and reliability. The printer also incorporates intelligent features such as material breakage detection and power outage recovery, significantly boosting overall printing efficiency and convenience.
3. Assembly and Lighting
Install the LED light and connect the power cable through the groove in the base. Once the power is connected, your 3D printed moon lamp will instantly light up, vividly displaying the moon’s surface texture.
Of course, the first version of your 3D 3D printed moon lamp may not be perfect, and continuous optimization is crucial. Here are some tips for improvement.
●Better Image Source:
Use higher-resolution images for a more detailed moon surface.
●Material Testing:
Experiment with different types of white PLA to find the one with the best translucency and color match.
●Light Source Selection:
Choose a light source that complements the material’s properties for optimal illumination.
For 3D printing enthusiasts, making a moon lamp is a fulfilling and exploratory task. By following the above steps, you can not only craft a moon lamp that is both visually appealing and functional but also experiences endless creative joy in the process.