How to Print a Photo for a Locket in 5 Steps
2024-01-03 15:48
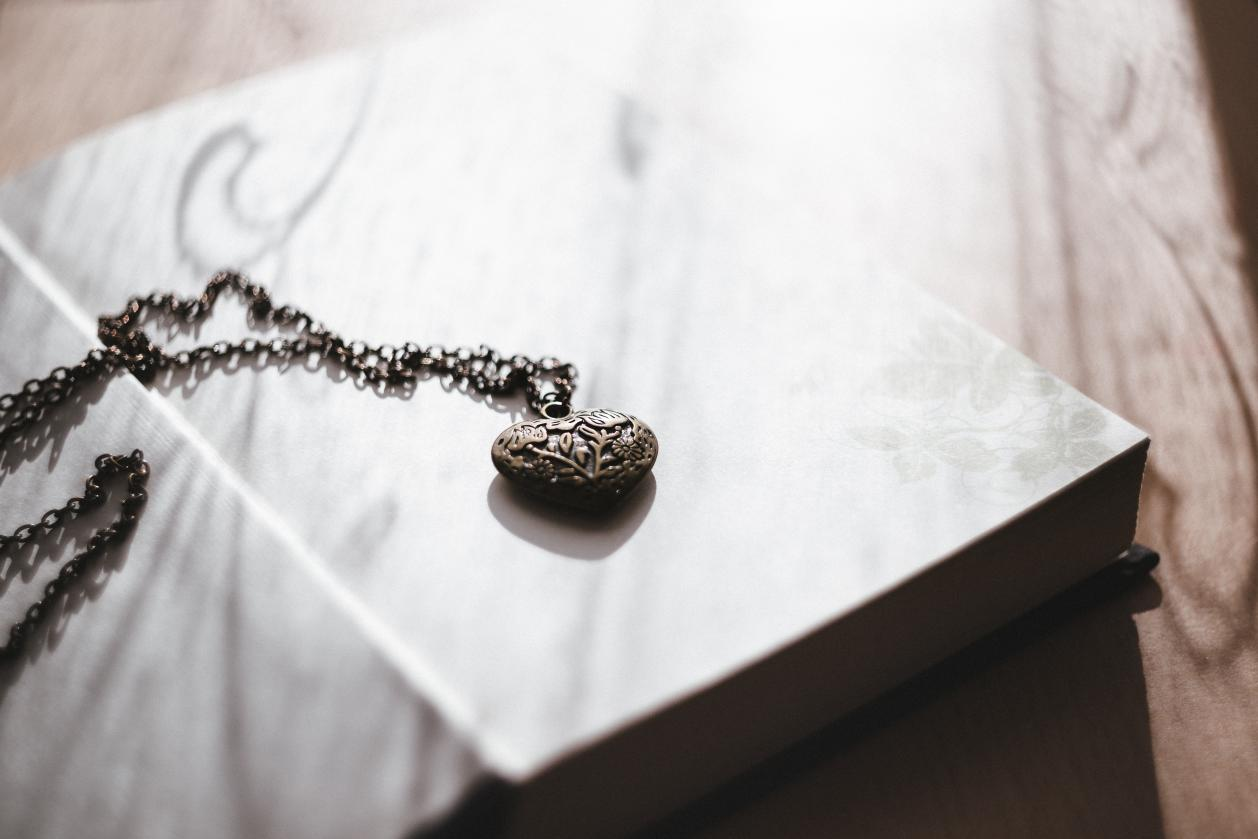
Printing a photo for a locket can be a delightful way to carry a cherished memory close to your heart. With lockets available in a variety of designs, from romantic heart shapes to elegant rounds, intricate faceted styles, and timeless ovals, getting the right locket size photos can be a bit tricky. Today, we’re here to guide you on how to print a photo for a locket. By following the five steps outlined below, you’ll be able to create the perfect locket photo, beautifully preserving and displaying your precious memories.

Step One: Measuring the Locket for the Locket Size Photo
The first step is to accurately measure the locket’s photo area. Most locket photos are quite small, typically ranging from about 1/2 inch x 1/2 inch (approximately 12.7 mm x 12.7 mm) to 1 inch x 1 inch (approximately 25.4 mm x 25.4 mm). These tiny photo prints can be printed by HPRT photo printers.

Carefully measure the size of the locket using a ruler or tape measure, aiming for precision down to the millimeter. If you have a round locket, measure the diameter. For heart locket photo printing or other unique shapes, estimate the size based on the outer dimensions, aiming slightly larger for a snug fit.
Step Two: Choosing the Right Locket Photo
Selecting the right image is crucial for photos of locket necklace. Here are some suggestions for you:
1. Opt for Clear, Simple Images: Select photos with a clear focus on the person’s face, avoiding overly busy backgrounds.
2. Prioritize Bright, Well-Lit Photos: Photos with good lighting enhance the visibility of features, especially in small formats.
3. Close-Up Shots for Better Recognition: Use close-up images where facial features are distinct and easily recognizable.
4. High-Resolution for Clarity: Ensure the photo is high-resolution to maintain clarity and detail when resized for your locket. High-resolution images provide better quality in small-sized prints.
Step Three: Editing the Locket Photo
After selecting your photo, load your chosen image into a photo editing tool. This could be a website, computer program, or phone app. Carefully crop the photo to remove unwanted parts and resize it to match your locket’s dimensions. Ensure the main subject of the photo is well-positioned and fits within the locket’s shape.
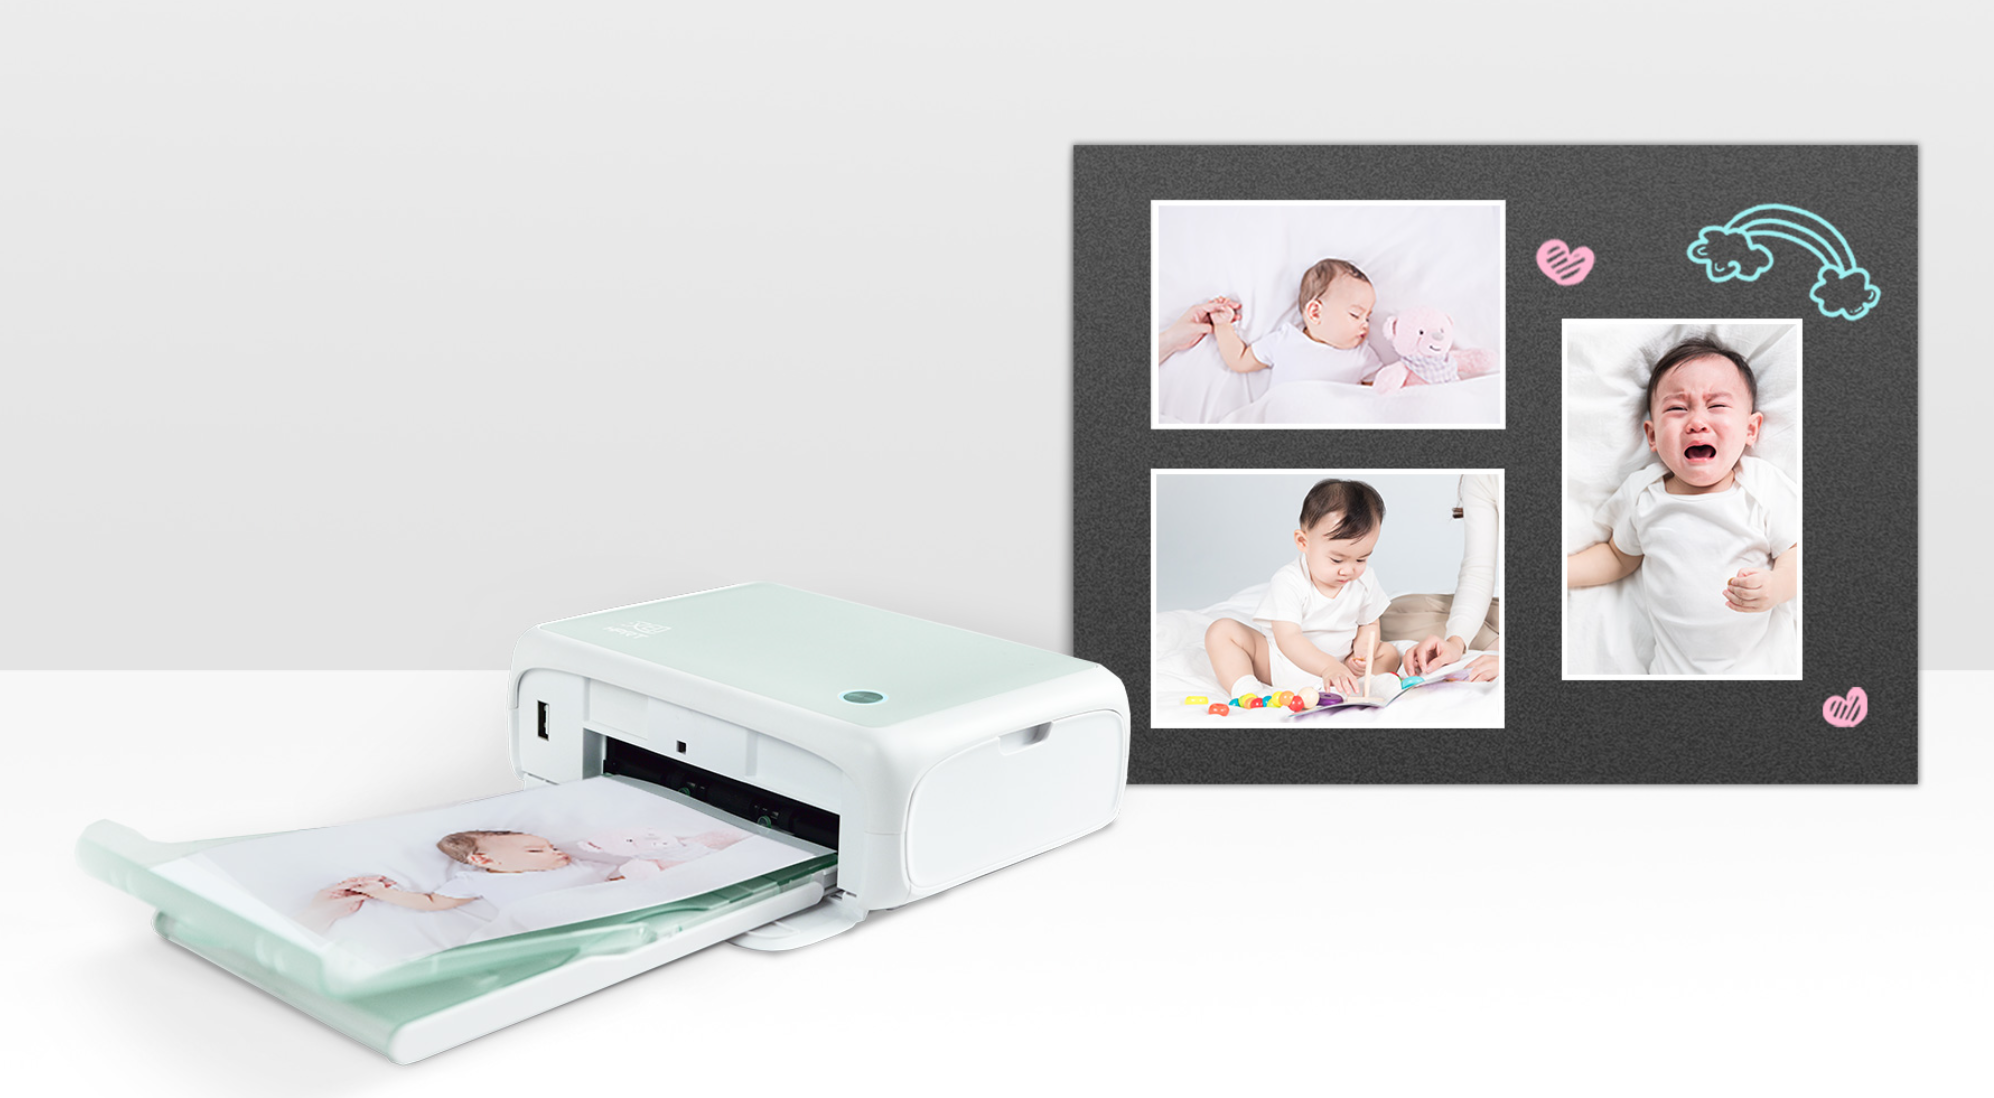
Next, consider the specifications of your photo printer. For using a 2x3 inch mini photo printer like the HPRT CP2100, start by opening a new file with 2x3 inch dimensions in your photo editing software.
Choose a background color, preferably white, and then paste your resized photo - whether it’s heart-shaped, oval, or another shape - onto this canvas. After positioning it correctly, save the file for printing. For small photo printers like the HPRT 4x6 photo printer, do the same.
Step Four: Printing the Photo

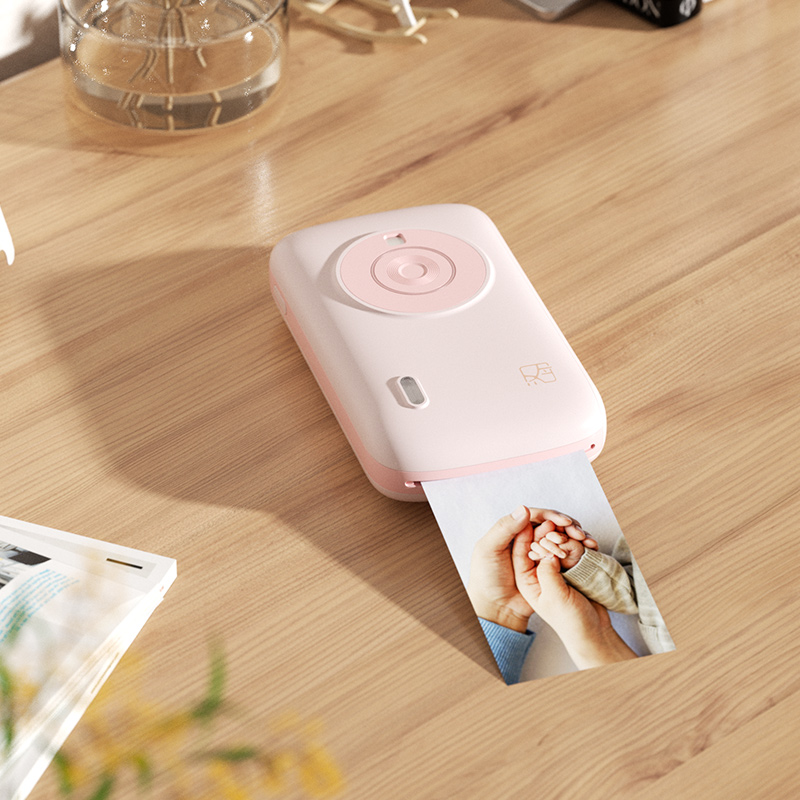
Now, it’s time to bring your image to life. Use a portable photo printer or mini photo printer, and for the best results, opt for the printer’s original photo paper.

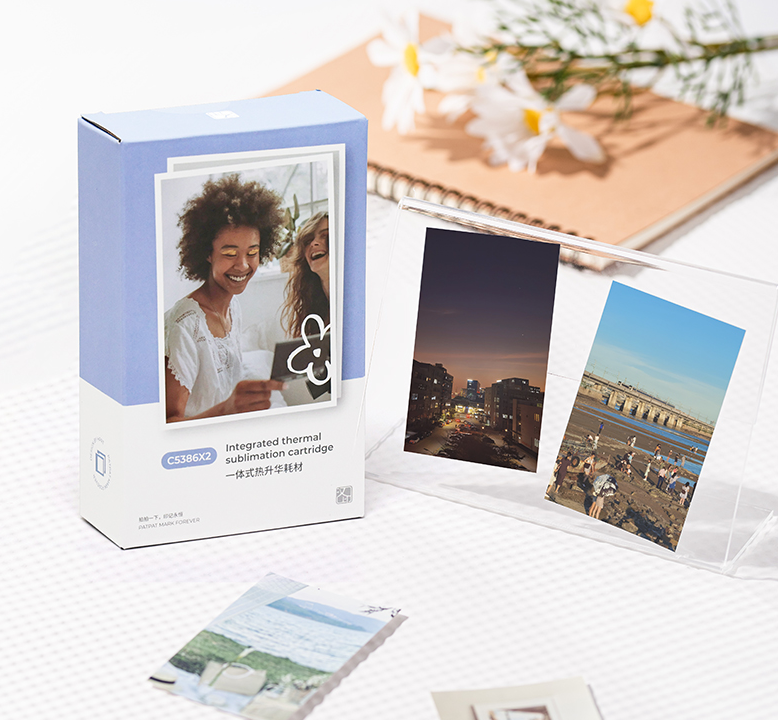
For instance, HPRT provides high-quality, original photo paper that works exceptionally well with dye sublimation technology. This combination yields glossy, vibrant photos that are not only visually striking but also durable.
Step Five: Trimming and Fitting the Photo into the Locket
The final step involves precision. Use a craft knife or scissors to trim the photo to the exact size of your locket’s image space. This is where your careful measurements pay off, ensuring your photo prints for lockets fit perfectly. Gently place the trimmed photo inside the locket, adjusting as needed for a flawless finish.
By following these steps, you can easily get to know how to print a photo for a locket and create beautiful locket size photos. With HPRT portable photo printers and its high-quality photo paper, your locket photos will not only capture but also enhance the essence of your cherished memories. If you’re skeptical, give it a try and see the remarkable results for yourself!


